Systeme.io Tutorial 2026: Build Your First Sales Funnel in 60 Minutes (No Coding Required)
If you’re looking for a clear, beginner-friendly Systeme.io tutorial that takes you from zero to a working sales funnel, this guide is for you. Systeme.io is one of the most popular all-in-one platforms today because it bundles landing pages, email marketing, online courses, affiliate management, and automation into a single tool — at a price that’s hard to beat, even on the free plan.
In this guide, you’ll learn how to use Systeme.io to build your first sales funnel in about 60 minutes, even if you’ve never touched code or web design before.
What’s Inside This Guide
1. What Is Systeme.io and Who Is It For?
Systeme.io is an all-in-one software that lets you build and run your entire online sales system: landing pages, sales funnels, email marketing, a blog, online courses, and an affiliate program — all from one dashboard, without stitching together several separate tools.
It’s a great fit if you are:
- A beginner starting an online business without a big budget for multiple tools.
- A coach, expert, or freelancer who wants to sell courses or services.
- An affiliate marketer who needs quick landing pages.
- A small business owner who wants to replace ClickFunnels, Kajabi, or Mailchimp with a single tool to cut costs.
Systeme.io’s biggest advantage over competitors is that it’s significantly cheaper while still offering full functionality, and it has a permanently free plan (not just a trial) so you can practice before paying anything.
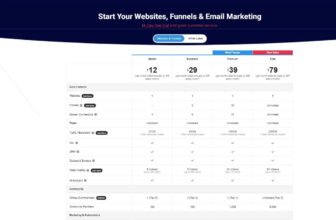
2. Systeme.io Pricing Plans Compared (2026)
Before diving in, here are the main plans Systeme.io offers (note: pricing can change over time, so check the official site for the latest numbers):
- Free Plan: Free forever, with limits on the number of funnels, emails, and contacts — enough to practice the entire workflow in this guide.
- Startup Plan: Higher limits on funnels, contacts, and emails, plus more automation features.
- Webinar Plan: Adds live and automated webinar features.
- Unlimited Plan: Removes most limits, ideal once your business has scaled.
Tip: If you’re just starting out, use the Free plan to follow this tutorial first, then upgrade once you’re comfortable and need to scale.
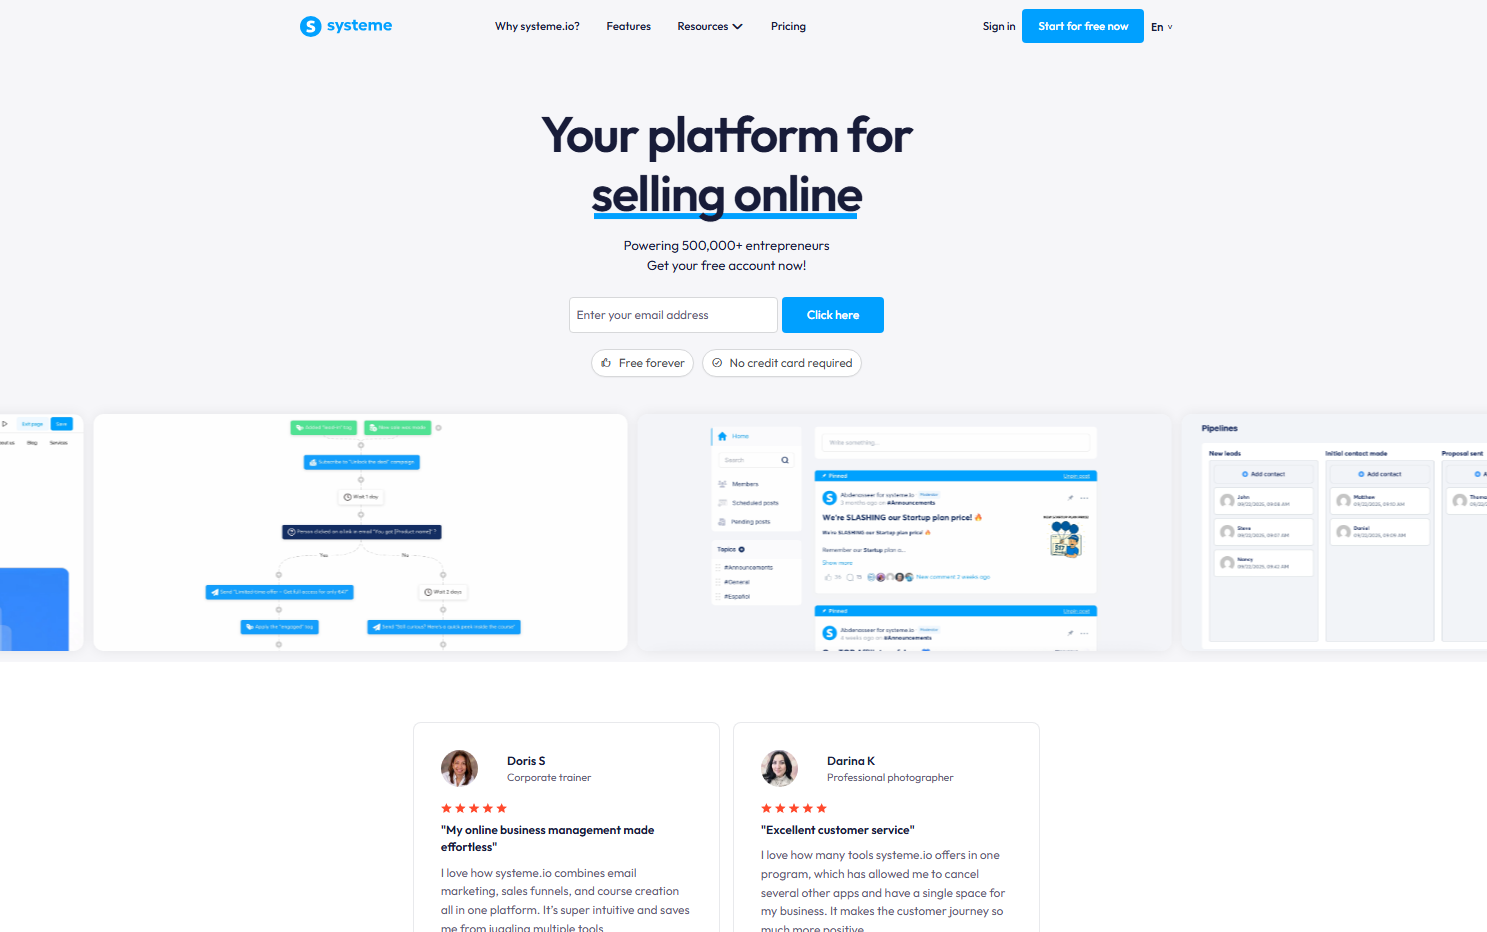
3. Step 1: Create Your Free Systeme.io Account
- Go to the Systeme.io homepage.
- Click “Get started for free.”
- Enter your email, set a password, or sign up quickly with Google.
- Confirm your email if prompted.
- Complete a short onboarding flow (your business niche, your goals) so the platform can personalize your dashboard.
After this, you’ll land on the main Systeme.io dashboard.
4. Step 2: Get Familiar with the Dashboard
The Systeme.io dashboard is organized into these main sections in the left sidebar:
- Dashboard: Overview metrics (revenue, new contacts, traffic).
- Sales Funnels: Create and manage your funnels.
- Email Marketing (Campaigns): Write emails, build automations.
- Contacts: Your leads/customers list, with tags and segments.
- Courses: Build online courses.
- Blog: Write SEO blog posts directly on the platform.
- Automations: Behavior-based workflows.
- Affiliates: Manage your affiliate program.
- Settings: Domains, payments, business info.
You don’t need to understand every section right away. In this guide, we’ll focus on: Sales Funnels, Page Builder, Email Marketing, and Payments — enough to launch a working funnel.
5. Step 3: Build Your First Sales Funnel
This is the core of this Systeme.io tutorial.
- Go to Sales Funnels > click Create.
- Name your funnel, e.g. “Lead Magnet Funnel – Free Ebook.”
- Choose a funnel template that matches your goal:
- Build an audience (collect emails/leads).
- Sell (sell a product directly).
- Promote a webinar (promote a webinar).
- Systeme.io automatically generates the basic funnel steps, such as:
- An opt-in landing page to collect emails.
- A Thank You page.
- An automated email sent after sign-up.
- Click into each “step” of the funnel to start editing its content.
A Solid Basic Funnel Structure
- Step 1 — Opt-in Page: Collects emails in exchange for a lead magnet (ebook, checklist, free video).
- Step 2 — Thank You Page: Confirms sign-up, optionally with a small upsell or a download link.
- Step 3 — Email Sequence: A nurture sequence that guides leads toward your paid product.
- Step 4 (optional) — Sales Page: Sells your main offer.
- Step 5 (optional) — Order Page + Upsell/Downsell: Checkout page with additional offers.
6. Step 4: Design Your Landing Page with the Page Builder
- On the Opt-in (or Sales) page, click Edit page.
- You’ll enter the drag-and-drop Page Builder — no coding required.
- Choose a template that fits your niche, or start from a blank page.
- Available blocks include: Headline, Text, Image, Video, Button, Form, Countdown timer, Testimonial, FAQ, and more.
- Edit each section:
- Headline: A clear statement of the benefit the visitor gets.
- Sub-headline: Add more context or address a pain point.
- Opt-in form: Make sure the email field is correctly connected to the funnel.
- Call-to-action (CTA): A clear button, e.g. “Get My Free Ebook Now.”
- Click Save, then use Preview to check how it looks on both desktop and mobile.
Important: Always check the mobile view before publishing, since most of today’s traffic comes from phones.
7. Step 5: Set Up Email Marketing & Automation
A funnel without automated emails is incomplete. Here’s how to set it up:
- Go to Email Marketing > Campaigns > click Create a campaign.
- Write a welcome email sent immediately after sign-up, including the lead magnet download link.
- Add 2-4 follow-up emails in sequence, aimed at building trust and leading toward your paid offer.
- Go to Automations and create a new workflow:
- Trigger: A new contact joins the funnel.
- Action: Send the welcome email, add a tag, wait X hours/days, then send the next email.
- Click Activate to turn the automation on.
8. Step 6: Add a Product and Connect Payment
If your funnel sells a product:
- Go to Products > Create a product.
- Set the name, price, description, and product type (course, downloadable file, service, subscription, etc.).
- Go to Settings > Payment to connect a payment gateway (Stripe and PayPal are the two most commonly supported on Systeme.io).
- Attach the product to the Order Page step in your funnel.
Note: Check Stripe/PayPal’s current country and account requirements before connecting, since policies can change by region and over time.
9. Step 7: Connect a Custom Domain
To make your funnel look more professional (instead of using Systeme.io’s default subdomain):
- Go to Settings > Domains > Add a domain.
- Enter the domain you purchased (from Namecheap, GoDaddy, etc.).
- Systeme.io will give you DNS records (CNAME/A record) to add at your domain registrar.
- After updating DNS, wait for the domain to verify (this can take anywhere from a few minutes to a few hours).
- Assign that domain to the specific funnel in its settings.
10. Step 8: Test and Publish Your Funnel
Before going live, check the following:
- The opt-in form works and the test email lands in the inbox (check spam too).
- CTA buttons link to the correct pages.
- Pages look good on both desktop and mobile.
- The automation fires correctly when tested with a different email address.
- The payment gateway test transaction succeeds (Stripe has a test mode).
- The custom domain points correctly and has HTTPS enabled.
Once everything checks out, click Publish on each step of the funnel to make it live.
11. Common Mistakes Beginners Make
- Not testing the automation before going live: Customers may not receive emails as expected.
- Forgetting to connect a custom domain before running ads: Makes ad links look unprofessional.
- Vague headlines that don’t state a clear benefit: Hurts the landing page’s conversion rate.
- Too many form fields: Only ask for email (and name if needed) at the top of the funnel to lower the barrier to sign up.
- Skipping the mobile check: A broken mobile layout can lose visitors right at the first step.
12. Frequently Asked Questions (FAQ)
Is Systeme.io available in other languages besides English?
The core interface is mainly in English and a few other major languages; however, the content you create (landing pages, emails) can be written in any language you want.
Is the free plan usable long-term?
Yes, Systeme.io’s Free plan has no time limit — it only limits the number of funnels, contacts, and some advanced features.
Do I need coding skills to use Systeme.io?
No. Landing pages, funnels, and emails are all built using a visual drag-and-drop builder.
How is Systeme.io different from ClickFunnels or Kajabi?
The main difference is price and features integration. Systeme.io bundles funnels, email marketing, courses, and affiliates into one single plan, while competitors charge significantly more or split them into separate products.
If you want a deeper look into how it stacks up against the industry giants, check out our in-depth comparison of Systeme.io vs ClickFunnels for building sales funnels, or read our breakdown of Systeme.io vs Kajabi if you are looking to sell online courses on a budget.
After building the funnel, what’s next to get customers?
You need to drive traffic into the funnel through channels like SEO, social media, paid ads, or an existing email list — the funnel itself is a conversion tool, not a traffic source.
Conclusion
With this guide, you now have every step needed to build a complete sales funnel on Systeme.io: from account setup, landing page design, and email automation, to adding products/payments, connecting a custom domain, and publishing. Start with the Free plan, follow each step carefully, and then optimize based on the real data your funnel generates.