
You can create a free landing page with Groove in just 30 minutes, even if you don’t have a developer, a designer, or a fat marketing budget. If you’ve been putting off launching your offer, here’s some good news: you can build a fully functional, good-looking landing page today — for free, with no credit card on file. In this tutorial, I’ll walk you through the entire process of building your page, step by step.
By the end of this guide, you’ll have a live landing page ready to start collecting leads or selling your offer.
What’s Inside This Guide
Why Groove Is a Great Choice for a Free Landing Page
Before we dive into the steps, let’s quickly cover why Groove is worth using if you’re trying to create a landing page for free.
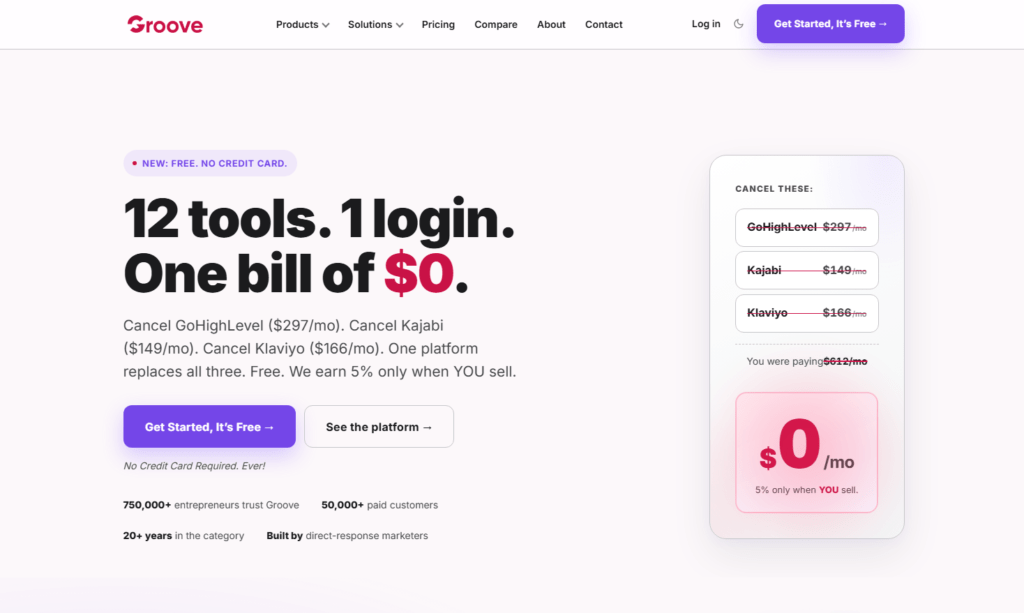
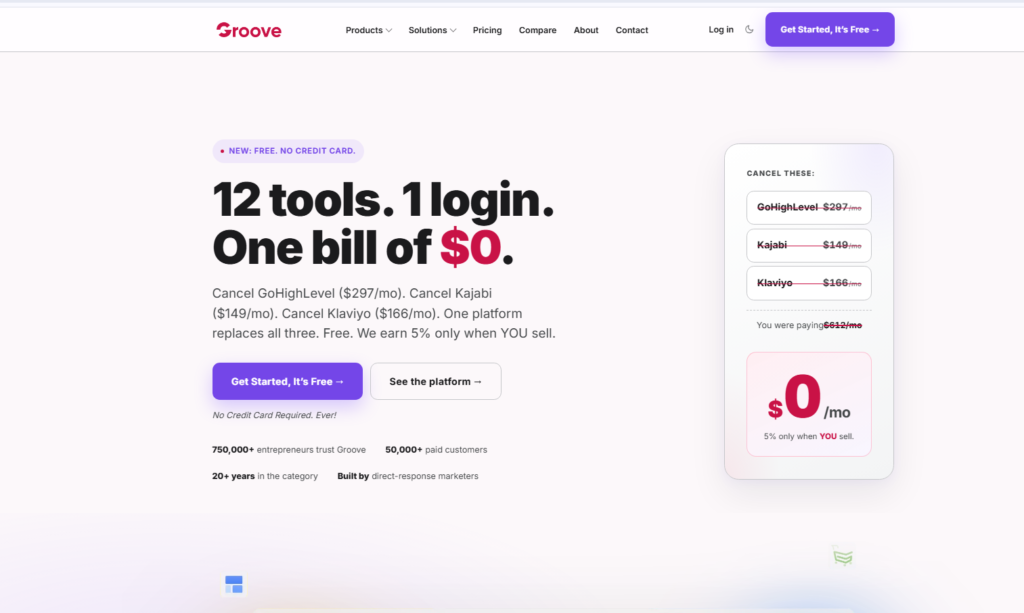
Groove is an all-in-one platform that bundles a website/landing page builder, email marketing, automation, and a course/membership platform into a single dashboard. Unlike many tools that offer a “free trial” that locks you out after 14 days, Groove offers a genuinely free plan that lets you publish a live landing page without ever entering a credit card number.
This matters because:
- You can test your idea before spending a dollar
- There’s no risk of being auto-billed when a trial ends
- You get drag-and-drop building, hosting, and basic email collection all in one place
What You’ll Need Before You Start
To follow along, make sure you have:
- An email address to sign up
- A clear idea of your offer (lead magnet, product, webinar, etc.)
- Any logo, product images, or testimonials you want to include (optional — you can use placeholders for now)
- About 30 minutes of uninterrupted time
That’s it. No coding knowledge, no design experience, and no payment method needed.
Step 1: Sign Up for a Free Groove Account
- Go to the official Groove website.
- Click the button to sign up for a free account.
- Enter your name, email address, and create a password.
- Confirm your email if prompted.
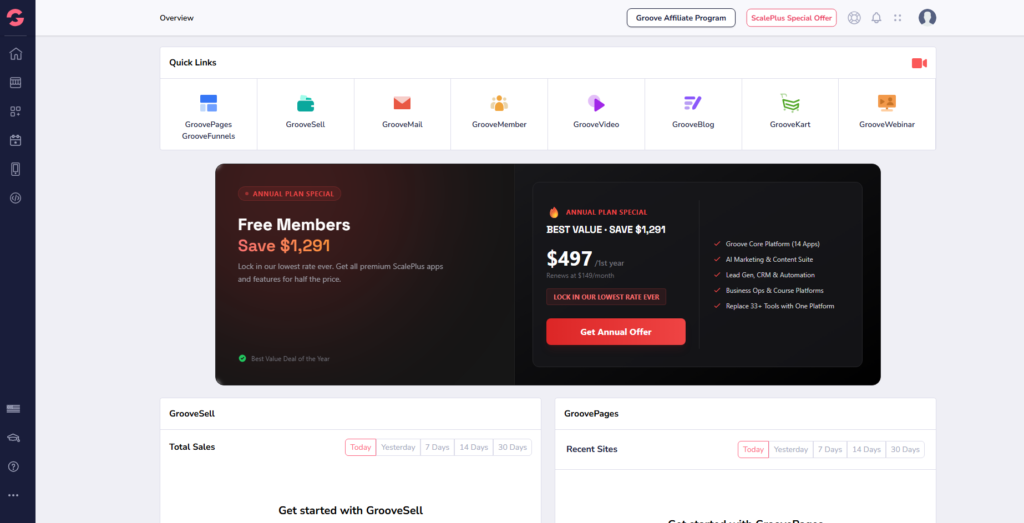
You’ll be taken directly to the Groove dashboard — no credit card form will appear at any point during this signup flow.
A Quick Note on the Free Plan
Groove’s free tier is designed to let you actually use the tool, not just look at it. You’ll have access to the page builder, a set number of pages, and basic contact storage. As your list grows or your needs expand, you can upgrade later — but for your first landing page, the free plan is more than enough.
Step 2: Create a New Site or Funnel
Once you’re inside the dashboard:
- Look for the option to create a new “Site” or “Funnel” (Groove organizes pages this way).
- Give your project a name — something simple like “My First Landing Page” works fine.
- Choose to start from scratch or select a category that matches your goal (lead generation, product sale, webinar registration, etc.).
Naming your project clearly now will save you confusion later if you end up building multiple campaigns.
Step 3: Pick a Landing Page Template
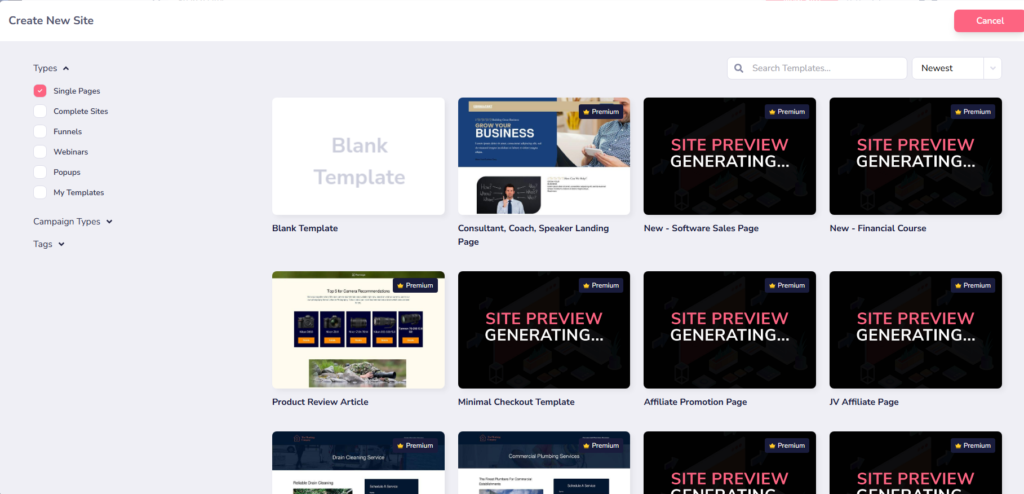
This is where things get fun. Groove comes with a built-in template library, so you don’t have to design a page from a blank canvas.
- Browse the template gallery.
- Filter by purpose if available (e.g., “Lead Capture,” “Sales Page,” “Webinar”).
- Preview a few templates and pick the one whose layout most closely matches what you’re trying to achieve.
- Click to select it and load it into the editor.
Pro tip: Choose a template that’s already close to your end goal. It’s much faster to edit text and swap images than to rearrange entire sections.
Step 4: Customize Your Landing Page With the Drag-and-Drop Editor
Now you’re in the actual page builder. This is the part that usually takes the most time, so let’s break it into smaller tasks.
4.1 Edit the Headline and Subheadline
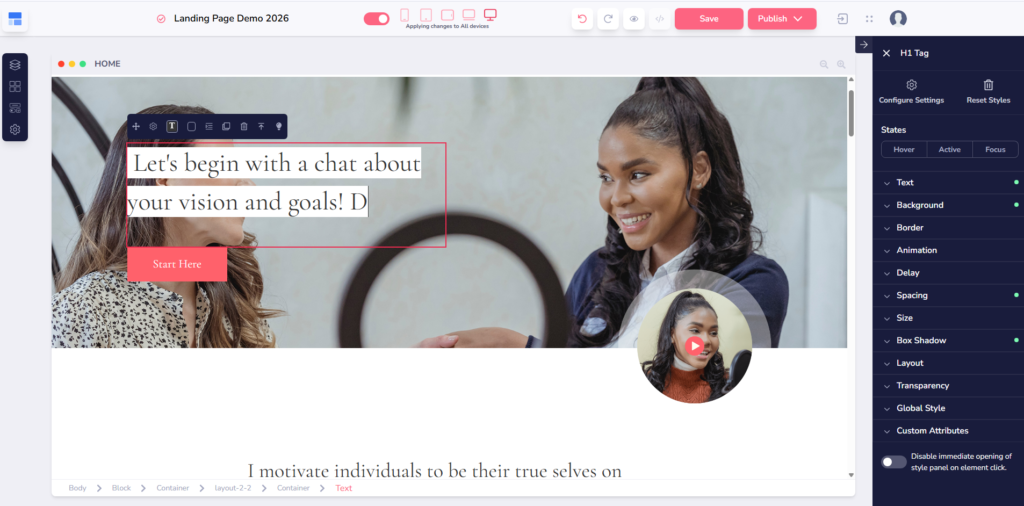
Click directly on the headline text block and replace it with your own. A strong headline should:
- Clearly state what the visitor will get
- Speak to a specific outcome or pain point
- Be easy to understand in under five seconds
Do the same for the subheadline, which should expand slightly on your main promise.
4.2 Replace Images and Add Your Branding
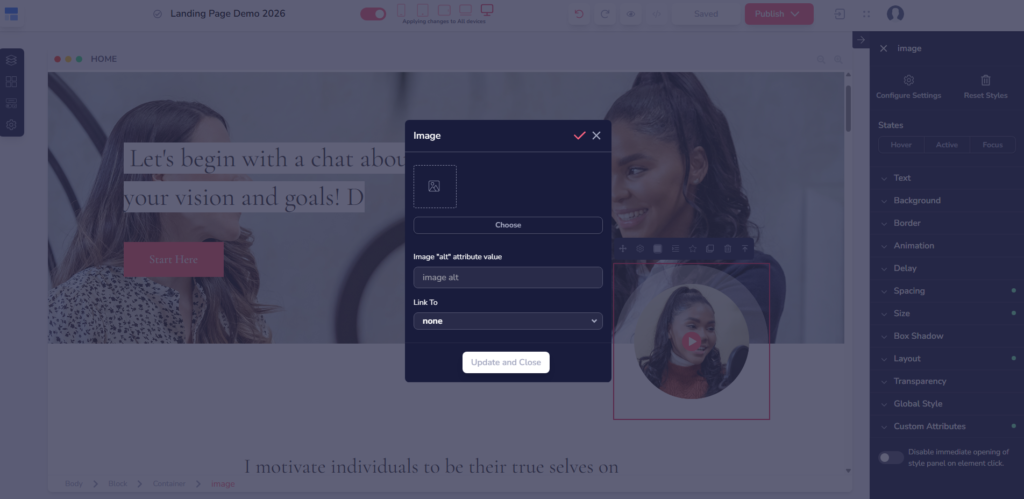
- Click on any placeholder image.
- Upload your own photo, product shot, or graphic.
- Add your logo in the header section if your template includes one.
- Adjust colors to match your brand using the style or theme settings panel.
Keep your color palette simple — two or three colors max — so the page feels cohesive rather than cluttered.
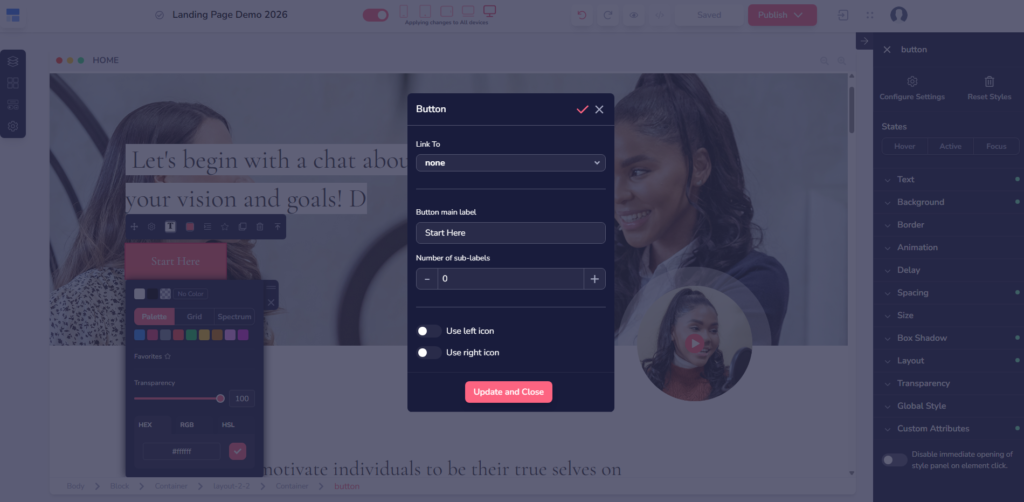
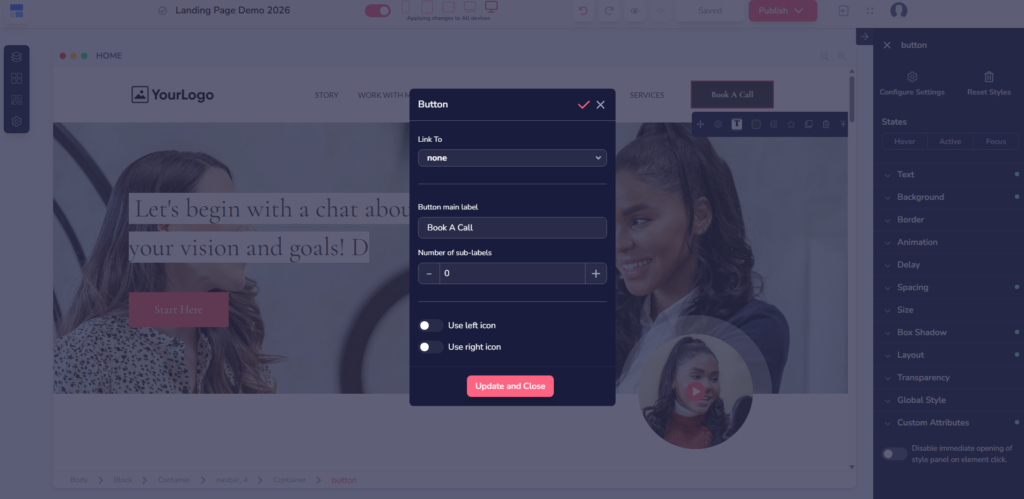
4.3 Add or Edit the Call-to-Action (CTA) Button
Your CTA button is arguably the most important element on the page. To edit it:
- Click on the button block.
- Change the button text to something action-oriented, such as “Get Instant Access” or “Download Free Guide.”
- Set the button’s destination — this could be a thank-you page, a checkout page, or simply trigger the opt-in form.
4.4 Set Up Your Opt-in Form
If your goal is lead generation:
- Drag an opt-in form block onto the page, or use the one built into your template.
- Decide which fields you need — usually just name and email is enough to keep friction low.
- Connect the form to a list or tag inside Groove so new subscribers are automatically organized.
4.5 Add Supporting Sections
Depending on your template, you may also want to add or edit:
- A short benefits or features section (3–4 bullet points work well)
- A testimonial or social proof block, even a simple quote
- An FAQ section to handle common objections
- A footer with basic contact or legal information
You don’t need all of these for a minimal landing page, but each one you add tends to increase trust and conversions.
Step 5: Preview Your Page on Desktop and Mobile
Before publishing, click the preview button and check how your page looks on:
- Desktop view
- Tablet view
- Mobile view
Most visitors today will land on your page from a phone, so pay close attention to how your headline, images, and CTA button display on smaller screens. Adjust spacing or font sizes if anything looks cramped or cut off.
Step 6: Connect a Domain (Optional) or Use the Free Subdomain
Groove will typically give you a free subdomain you can use right away (something like yourpage.groovepages.com or similar). This is perfect if you just want to test your offer immediately without buying anything.
If you already own a custom domain, you can connect it under the domain settings, following Groove’s on-screen instructions to update your DNS records.
For your first landing page, sticking with the free subdomain is completely fine — you can always upgrade later.
Step 7: Publish Your Landing Page
Once everything looks good:
- Click the “Publish” or “Go Live” button.
- Confirm the page status changes to live/published.
- Copy your page’s live URL.
That’s it — your landing page is now publicly accessible, and you haven’t spent a single dollar.
Step 8: Test Everything Before You Share It
Before sending traffic to your new page, run through this quick checklist:
- [ ] Open the live URL in an incognito window to see it as a visitor would
- [ ] Submit the opt-in form yourself to confirm it works
- [ ] Click the CTA button to confirm it goes to the right place
- [ ] Check loading speed — remove unnecessary large images if it feels slow
- [ ] Proofread all text one more time for typos
Common Mistakes to Avoid
A few things that trip up beginners when creating their first free landing page:
- Too much text. Landing pages convert better when they’re scannable, not when they read like an essay.
- Weak or vague CTA text. “Submit” or “Click Here” performs worse than action- and benefit-driven phrases.
- No clear single goal. Every landing page should have one primary action you want visitors to take — don’t compete with multiple buttons leading to different places.
- Skipping the mobile check. A page that looks great on desktop can be broken on mobile if you don’t preview it.
Avoiding these mistakes will put you ahead of 90% of beginners. Ready to build a high-converting page the right way?
What to Do After Your Landing Page Is Live
Publishing your page is just the first milestone. To actually get results from it:
- Share the link on your social media profiles
- Add it to your email signature
- If you have a budget later, consider running a small paid traffic test
- Monitor your opt-in rate inside Groove’s analytics and tweak your headline or CTA if conversions are low
Final Thoughts
Creating a landing page used to require hiring a developer or learning to code. With Groove’s free plan, you can go from a blank dashboard to a published, working landing page in about 30 minutes — without entering a credit card number anywhere in the process.
Start simple. Get your first page live, test it with real visitors, and improve it gradually based on what you learn. You don’t need a perfect page on day one — you just need a page that’s actually live and collecting data.
Related Articles
Groove vs Systeme.io 2026: Both Are Free — But Which One Is Actually Better for Beginners Selling Online?
Groove Review 2026: Is This All-in-One Platform Really “Free Forever” Like They Claim?